The zyrex waves are not random and they are not evenly spaced: building the Research Center starts the swarm attack timer, and the scale of the wave around day 10 is set by the metal you have rather than by the wave itself. This Wall World Strategy surviving zyrex attack waves guide is the order of operations the community settled on for holding them.
The Wall World Strategy surviving zyrex attack waves guide, in order
- Hold the Research Center back. It is the trigger for the swarm timer, so building it early brings the waves on before your economy can support them.
- Expect flyers to ignore the ground route. They fly over the colony wall and hit buildings inside it, so turrets have to sit inside the base as well as at the edge.
- Keep power headroom. Flyers kill power output quickly, and a brownout in the middle of a wave is what turns a hard fight into a lost colony.
- Do not rely on the wall to protect your grid. The zyrex focus energy transmitters, even when those transmitters sit behind walls or other buildings.
- Expect the wave to outscale the turrets you can afford. Around day 10 the scale problem becomes the real problem, and metal is the limiting resource.
Hold the Research Center back
Completing the story objective to build the Research Center is what starts the swarm attack timer. That single trigger caused the worst reported run: the player built the research center almost immediately, put a couple of turrets by the entrance, watched the flyers go around them and smash buildings, and then lost roughly a third of the buildings and 11 people.
Nothing else about the wave is as punishing as that mistake. Holding the center back until your metal income and your turret line are up is the counter-play the community converged on.
The cost of waiting is that you are also waiting on research, and the demo has never shown whether you can unlock tree entries before the Research Center goes up. The research tree guide covers what the tree looks like and how to get it moving with a limited pool of engineers.
The day 10 wave is bigger than your metal
Around day 10 players describe the wave as far too large to build enough turrets for with the metal available, and enemy scaling picks up strength very quickly. Metal is the ceiling, which is why defense has to be funded during the quiet days rather than during the warning.
Power is the other half of the same problem. Flyers kill power output fast, and a brownout during a wave is what turns a hard fight into a lost colony. Reserve enough headroom that losing a generator or two does not black out the colony while you are still fighting.
Turrets belong inside the colony as well
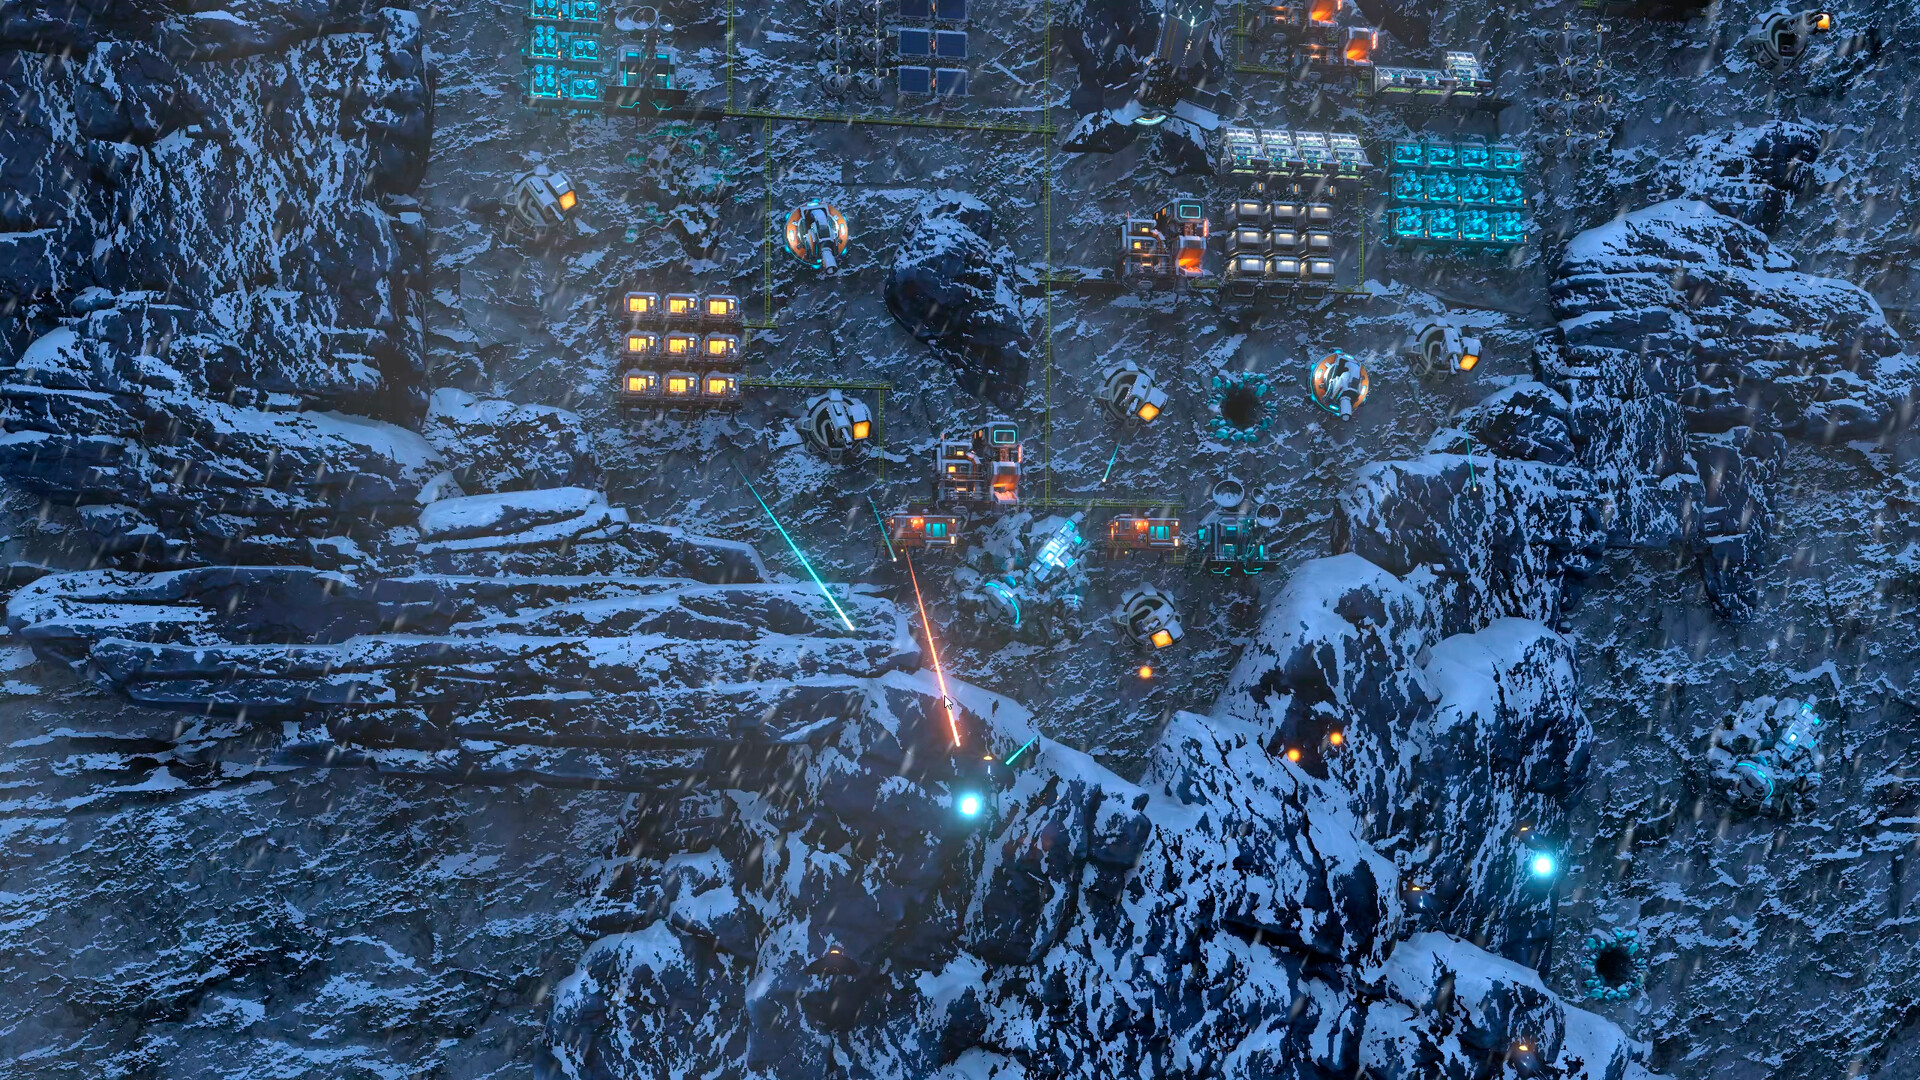
The zyrex flyers do not follow the ground path that walkers use. They fly over the wall of your colony and hit buildings inside it, so a wall on the outside is not enough on its own.
What to build and where to put it is covered in the defense walls and turrets guide, including the Artillery Cannon's line-of-sight rule and why the Energy Dome preview needs checking after you place it.
The Leviathan wave ends the demo
The last attack of the demo is the Leviathan wave, and it behaves nothing like the ones before it. One player reported the final attack pinning the CPU and tanking performance even below 20% usage, which is a scripted ending rather than a bigger wave.
The Leviathan boss guide covers what that boss is, why the demo run ends there and what happens after it.