Production first, defense second — usually. When players ask Hull Rupture how to survive 20 waves, the developers' own framing is that the optimal strategy is to invest the bare minimum into survival and funnel everything else into economy growth, because you never fully know how much defense is enough until the aliens start rupturing the hull. Here is the order of operations that follows from that, wave by wave.
Hull Rupture How to Survive 20 Waves, Step by Step
Combat never pauses. Your production keeps running while aliens board through drop pods and march toward the Airlock, so a wave is a period where your economy is running but you cannot spend attention on it. Expand between waves instead of microing during them, and treat a wave as a thing you watch rather than a thing you manage.
The whole order, in one list:
- Expand production between waves, not during them.
- Put turrets on the route the aliens actually walk.
- Keep the Airlock and the units inside it as the net, not the plan.
- Lengthen the outer route so the boss has room to run.
- Cluster your modules around Despot's Chamber.
- Build the gun line early; the final boss needs far more guns than the old balance allowed.
- Buy for the constraint that is actually biting, not for the one you expect.
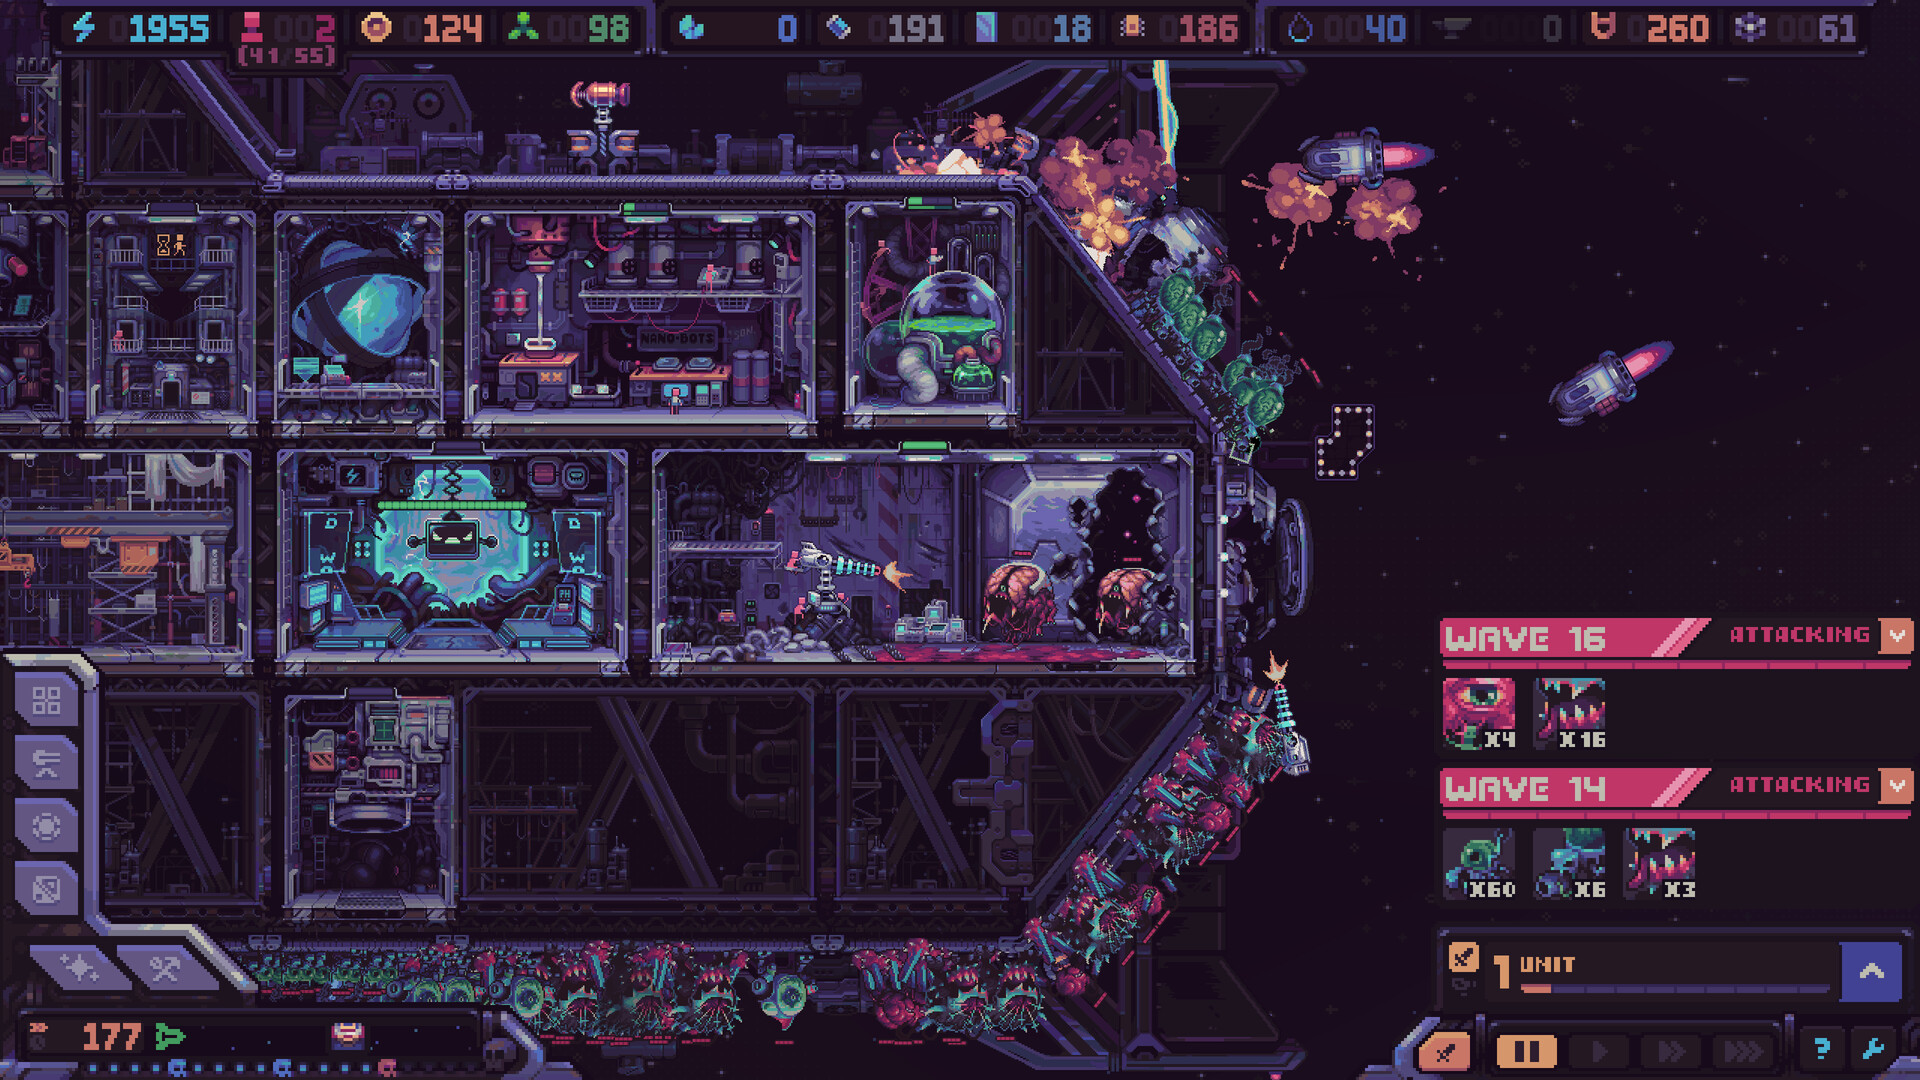
Put guns on the route and keep the Airlock as the net
Turrets first, meat shields second. The Airlock and the units stationed inside it are your last line of defense and a safety net for anything that gets past the turrets, not the main plan. This is not a preference: unit-based ship defense was deliberately weakened in the September demo rebalance, with the Cheat Code artifact nerfed as the worked example.
Getting the guns onto the right route is the whole job — see the turret placement guide for how to match weapons to the shape of your hull.
Give the boss room to run
Bosses always land on the far left, most upper part of the ship, furthest from the Airlock. A longer route keeps several of them from piling up in the Airlock at once, so the answer to a boss is geometry rather than a wall of turrets. Alien drop pods always land across most of the ship's outer surface, which means a longer perimeter also spreads the landing points further apart.
Extending that route is a Hull Construction problem — and the boss strategy guide covers how to set up a kill zone you do not have to move.
Cluster around Despot's Chamber
The Despot's Chamber buffs the modules next to it, so a compact cluster around it protects both your production and your AI core at once. The same compactness shortens the distance your crew walks between jobs, which matters when your workforce is also your fuel supply.
Budget for the final boss
The final boss of Classic Mode is the hardest single check in a run. After the demo rebalance made resources easier to produce, the developers still warn that defeating it needs far more good guns than the previous balance allowed — the old balance made reaching Nanobots nearly impossible, and defense now costs far more as a result. Do not spend your last upgrades on wave 19 and then meet the final boss with whatever is left.
Buy for the constraint you actually have
Between waves, buy for the constraint that is actually biting. If aliens are reaching the Airlock, take a turret-themed box; if production is stalling, take a module-themed box. Before adding capacity, read the current per-minute rates in Info Mode, because the number you are reacting to is the rate you actually have right now rather than a forecast of what you will have.
The post-battle shop guide covers what the boxes contain and how rerolls and kit sales work, and the production chain guide covers how to read the rates before you spend.