Arctic Drive scavenging is the core loop: find physical objects in the world, recycle what is useless, and craft the rest into upgrades and spare parts. The store puts it plainly — nothing out here is junk. The skill is not in finding more, but in reading what you find and only taking what the rig can carry.
Arctic drive scavenging: the loop in five steps
- Read the tooltip before you pick anything up — quality, salvage yield and what it actually is.
- Spot the grey outlines — non-usable items meant to be recycled look different from usable loot.
- Decide what the rig can take. Weight slows the car, burns fuel and spreads in a turn.
- Place it physically. Aim and press G to load, press G to drop, hold G to throw.
- Break the junk down at a recycler and craft the result into parts.
Read the tooltip before you pick it up
Every item carries a quality rating of one to five stars, and the tooltip shows what you can get back out of it. Broken parts carry a salvage yield, so what a wreck will give you is stated up front rather than discovered later in a pile.
For vehicle parts, the tooltip goes further and lists the numbers that decide whether the part is worth fitting — grip, cornering stiffness, rolling drag, crafting cost and weight, as well as the quality stars. That is covered in detail in the vehicle damage and repair guide.
The rule of thumb is simple: read before you grab. A five-star part is worth a detour; a one-star piece of scrap may not be worth the weight it adds.
Telling scrap from usable loot
In a pile of loot, the game marks the two kinds of items differently. Secondary objects — the items that are not usable and are meant to be recycled — are outlined in grey, so you can tell salvageable scrap from usable loot at a glance.
Food and drink found in the world can also be contaminated, and food poisoning was balanced to be less lethal, but it is still a risk you take on a bad day. What to do with the grey-outlined scrap once you have it is covered in the recycler guide.
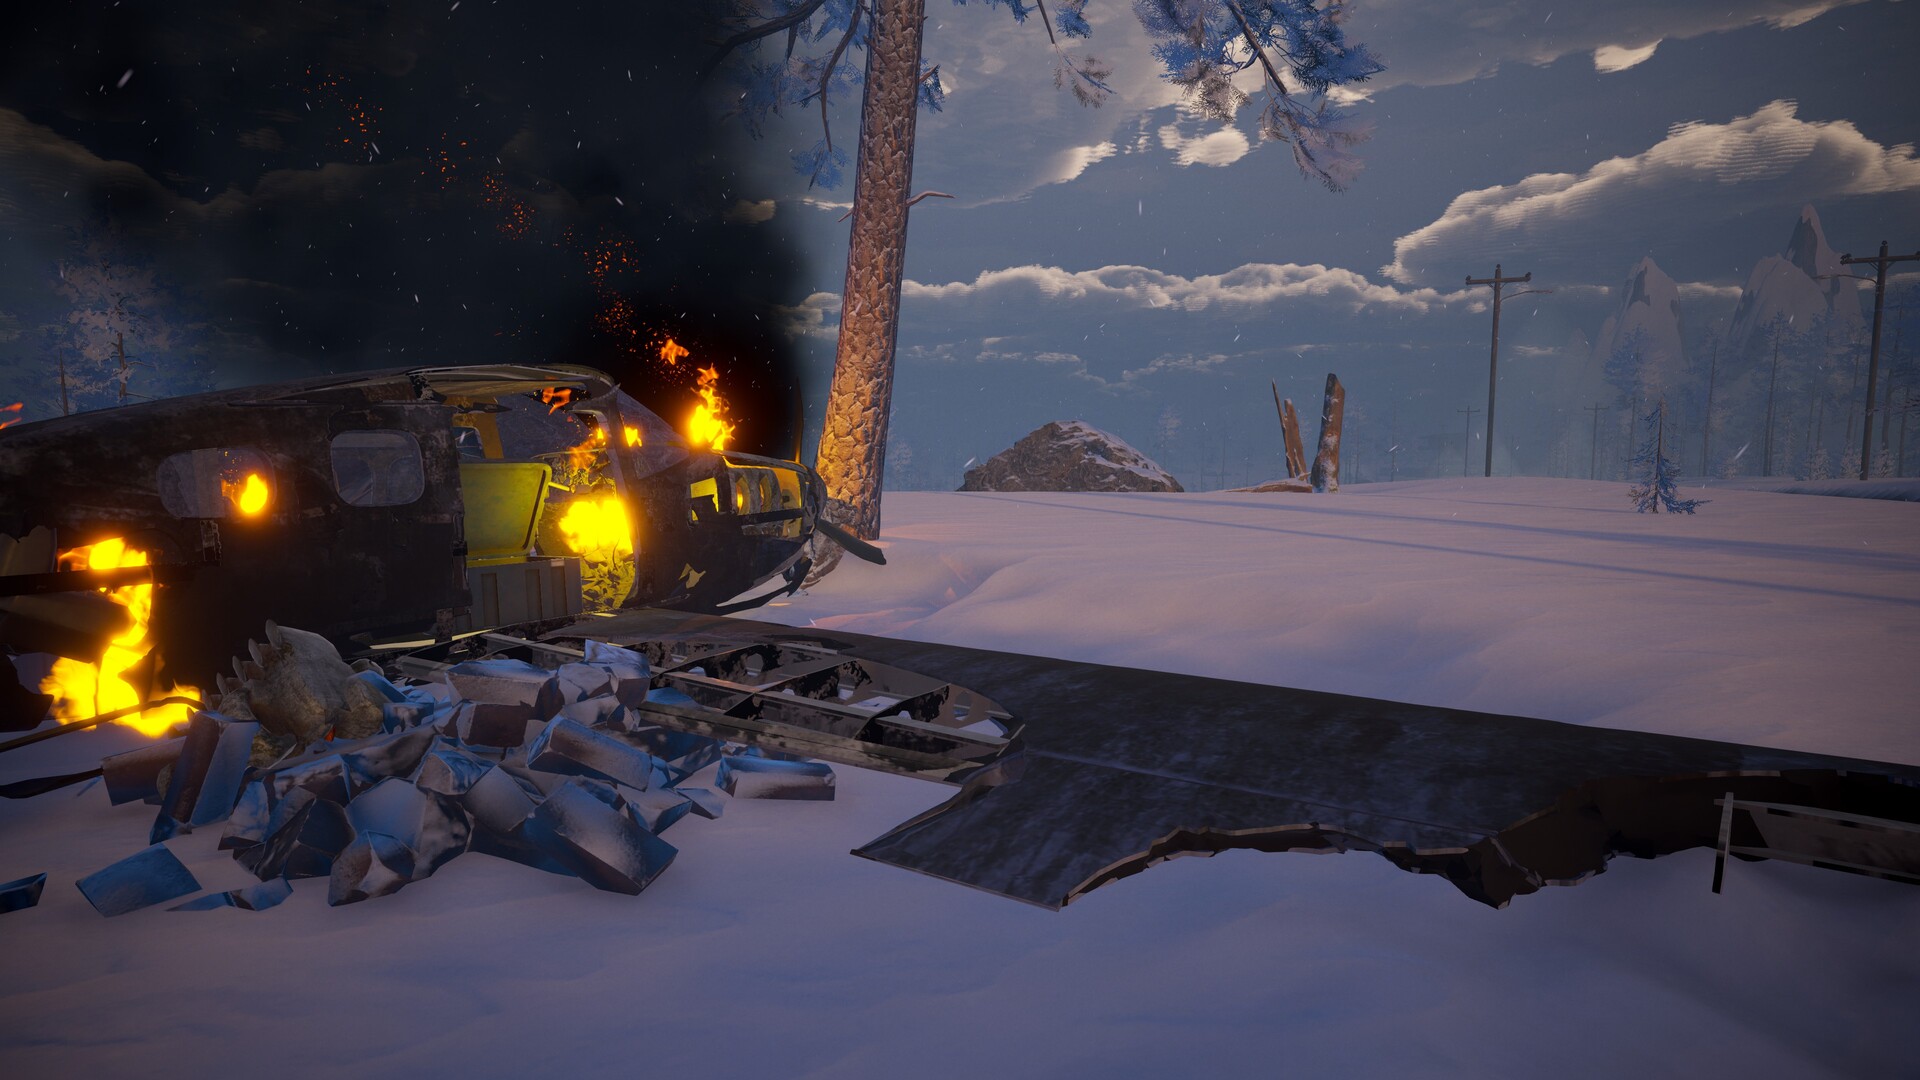
Picking up, placing and throwing
Cargo is placed physically rather than stored in an abstract grid:
- Aim and press G to place an item into cargo.
- Press G to drop it.
- Hold G to charge a throw and release G to throw it.
The controls for throwing and placing items in the car and trunk were improved in a later patch. The full set of keys, including carrying, is in the controls and settings guide.
Transport boxes and shelves
New transport items were added in several sizes — boxes and shelves of all sizes — which you can loot or craft and attach to your car and trailer. A transport box was added to the back of the pickup truck, boxes can be stacked across the back seat, jerry cans fit in the trunk, and cargo boxes can be crafted, looted and attached to your car or trailer.
Boxes solve the two problems that a loose load creates: they hold small items together so a tight turn does not scatter them, and they give you somewhere to put the junk you cannot use yet without it becoming loose cargo.
How loose the loot is
Loot volume is deliberately tight. A massive rebalance in the closed beta cut excess food, excess drinks and excess fuel and oil, and increased the number of useful vehicle parts. The demo rebalanced the spawning of water, food and car parts again, and the developers asked players to keep telling them where the spawn amounts are too generous or too stingy.
Two spawn rates went up rather than down: blueprints, which unlock recipes permanently at the Research Station, and organic material, the new recyclable resource. So a scavenging run is worth it for a blueprint or a recyclable pile rather than for another stack of cans — and the demo scenario is built around exactly this loop, where you scavenge for resources to survive while you build a better car as you go.