Expedition of the Guild boss mechanics are unique to every boss: the game pairs towering giants and ancient gods hidden within ruins with fights where each boss has its own mechanic and its own intense battle. There is no universal rotation that solves all of them, so the skill is reading each fight — its health bar, its damage numbers and the name of the ability being cast over it — and letting your Tank hold the front line while the party answers the mechanic.
Expedition of the Guild boss mechanics: every boss is different
Two things follow from that design, and they shape everything else:
- A party that cannot sustain itself fails. Tanks hold the front line, DPS heroes take turns unleashing their burst damage, and Healers keep everyone alive. A damage-heavy party is a levelling shortcut, not an answer to a mechanic.
- You learn the fight before you clear it. The roadmap still lists reviewing and refining monster mechanics and content presentation as ongoing maintenance, which means the encounters are being tuned rather than locked.
The best single reference for a specific fight is the Hidden Swamp boss guide, which works through the accuracy and evasion numbers the demo build turned up.
Finding the boss before you pull it
The August 2026 update added boss location display plus directional guidance on the map, so a boss can be found before it is pulled. That changes the shape of a run: scouting and surviving are two separate problems, and you can now solve the first one without pulling.
It also means a lost run is usually a navigation problem rather than a fight problem. If you are clearing a map but cannot find the boss, use the map guidance before you change the party. The Hidden Swamp boss guide shows the other half of that map's last fight, where finding the boss was only the first problem.
Reading the fight: health bar, damage numbers, ability names
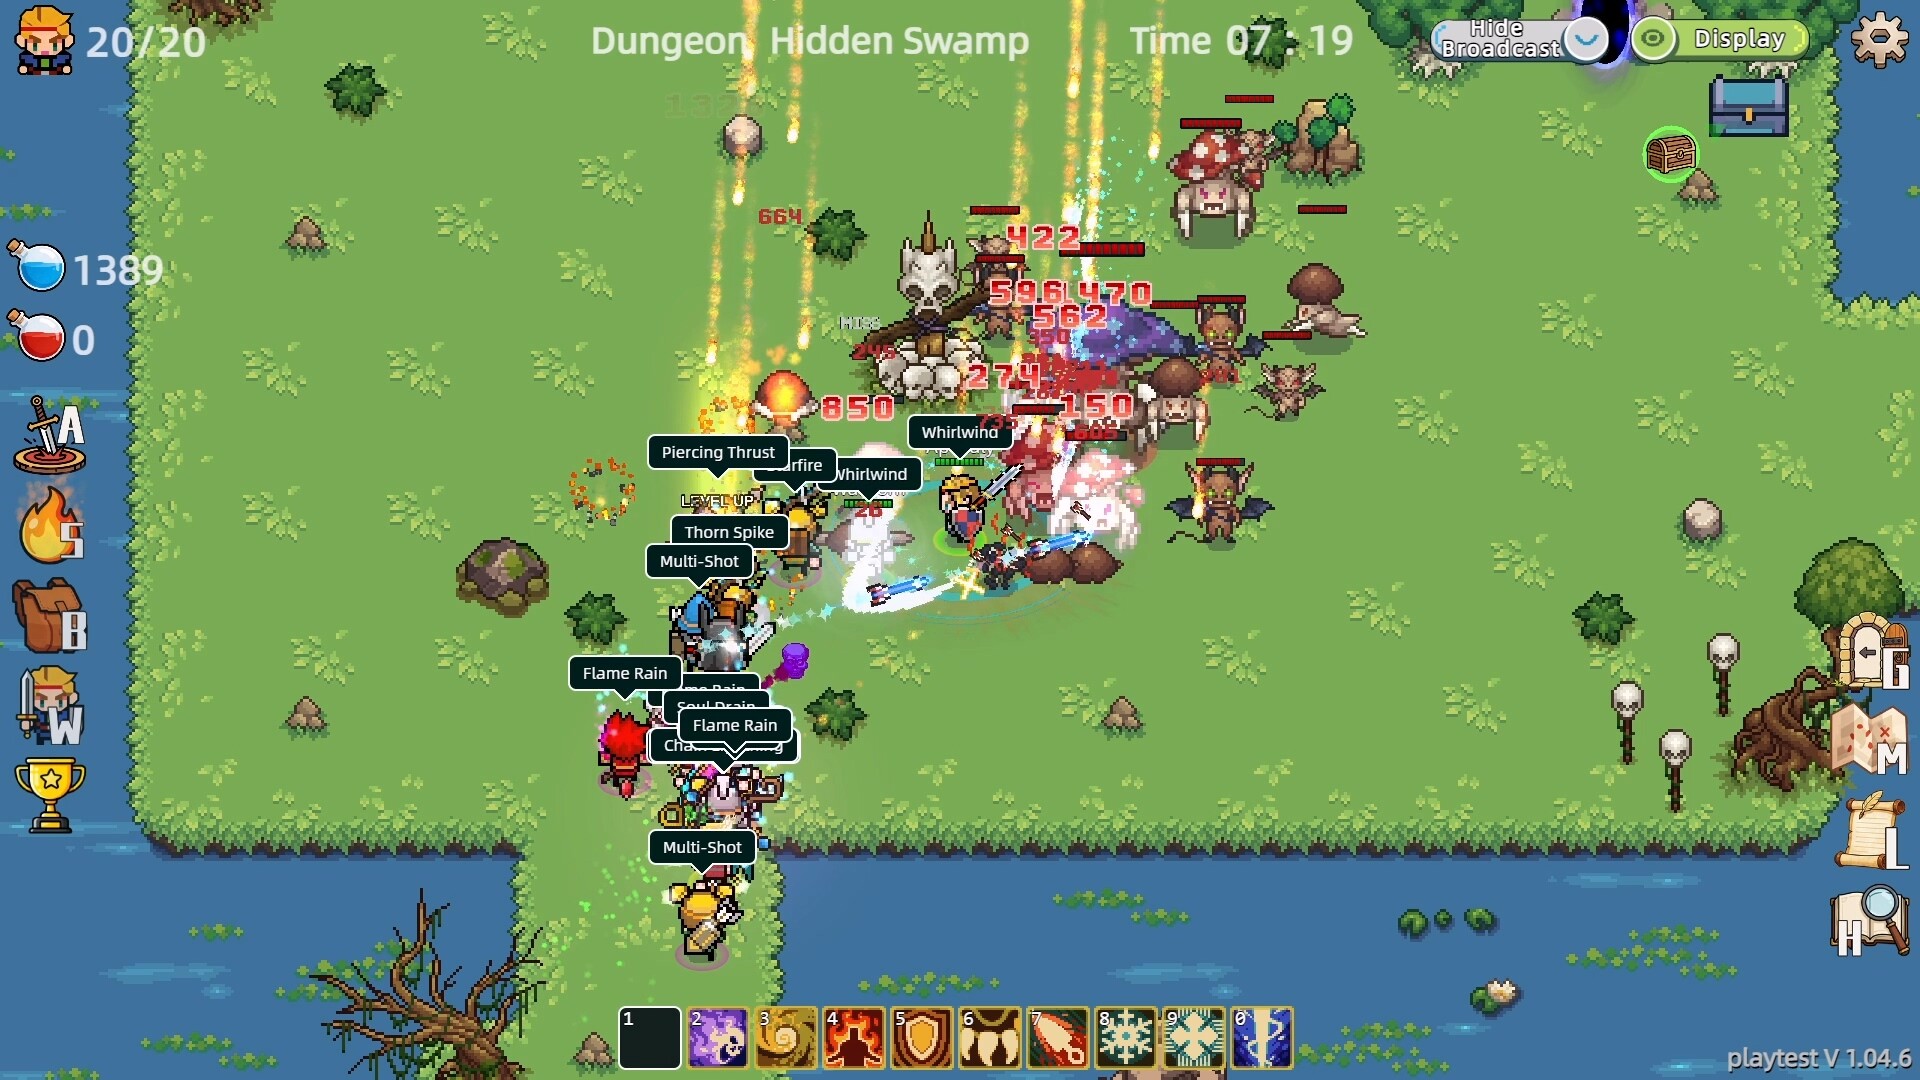
The combat HUD shows the boss's health bar, floating damage numbers and the name of the ability being cast over it. Those three readouts are the whole combat log, and each one answers a different question:
- The health bar shows whether the fight is being won or lost, and how much of the boss is left.
- The floating damage numbers show whether your damage is landing — and when they stop appearing, your accuracy is the problem, not your damage dealers.
- The ability name over the caster shows who is casting what, including your own heroes. Damage heroes taking turns means you will see the same ability fire repeatedly, and a name you do not recognise is a mechanic you have not seen before.
The last one is why the hero skills guide is worth reading before a boss: knowing your own ability names is what lets you tell your cast apart from the boss's.
What the tank has to hold
Enemy targeting priority is Tank, then Melee, then Ranged, and frontline tanks hold aggro more reliably. That single rule is the backbone of every boss fight in the game: your Tank is the one the boss is trying to kill, and everybody behind it is only safe while it is standing.
Two practical consequences:
- Position the Tank at the front. Aggro is not something the boss chooses to give away; it follows the front line.
- Keep the Tank alive. When it drops, the boss moves down the targeting list and your damage dealers start taking hits meant for it.
The aggro and targeting guide covers how threat is built and what to check on a Tank's stat sheet, and the resurrection priority guide covers what happens after a hero does drop.