Ashes of the Singularity II unit counters are not hard counters you can read off a tooltip: at this scale they are expressed through unit roles, damage profiles and terrain, and the rule that decides most matches is that a bigger blob does not necessarily win.
Reading Ashes of the Singularity II Unit Counters
Hard counters are genuinely harder to read in a massive-scale RTS than in a small one. In a game like StarCraft, counters are obvious because you have few units and can literally see the effects. In a massive-scale RTS like Ashes, you have thousands of units on the map and the effect of a matchup is diffused across the whole front, which is why making those counters more obvious is an active design goal rather than a finished feature.
What you can read today is the role structure:
- The UEF trade bodies and win on volume and infantry.
- The PHC trade efficiently and win on armour, repair and expensive specialists.
- The Substrate apply constant pressure and win by attacking faster than you can repair.
Players have asked for an in-game hard-counter indicator, such as army composition warnings, matchup icons in the unit card or a combat effectiveness overlay. No such tool is in the game, so the reading has to come from the roster, and that means knowing what each faction actually fields.
Bigger Blobs Do Not Win Automatically
An unskilled player at a low level tends to believe the bigger blob always wins. It does not, and the difference between the two beliefs is most of the skill curve in this game.
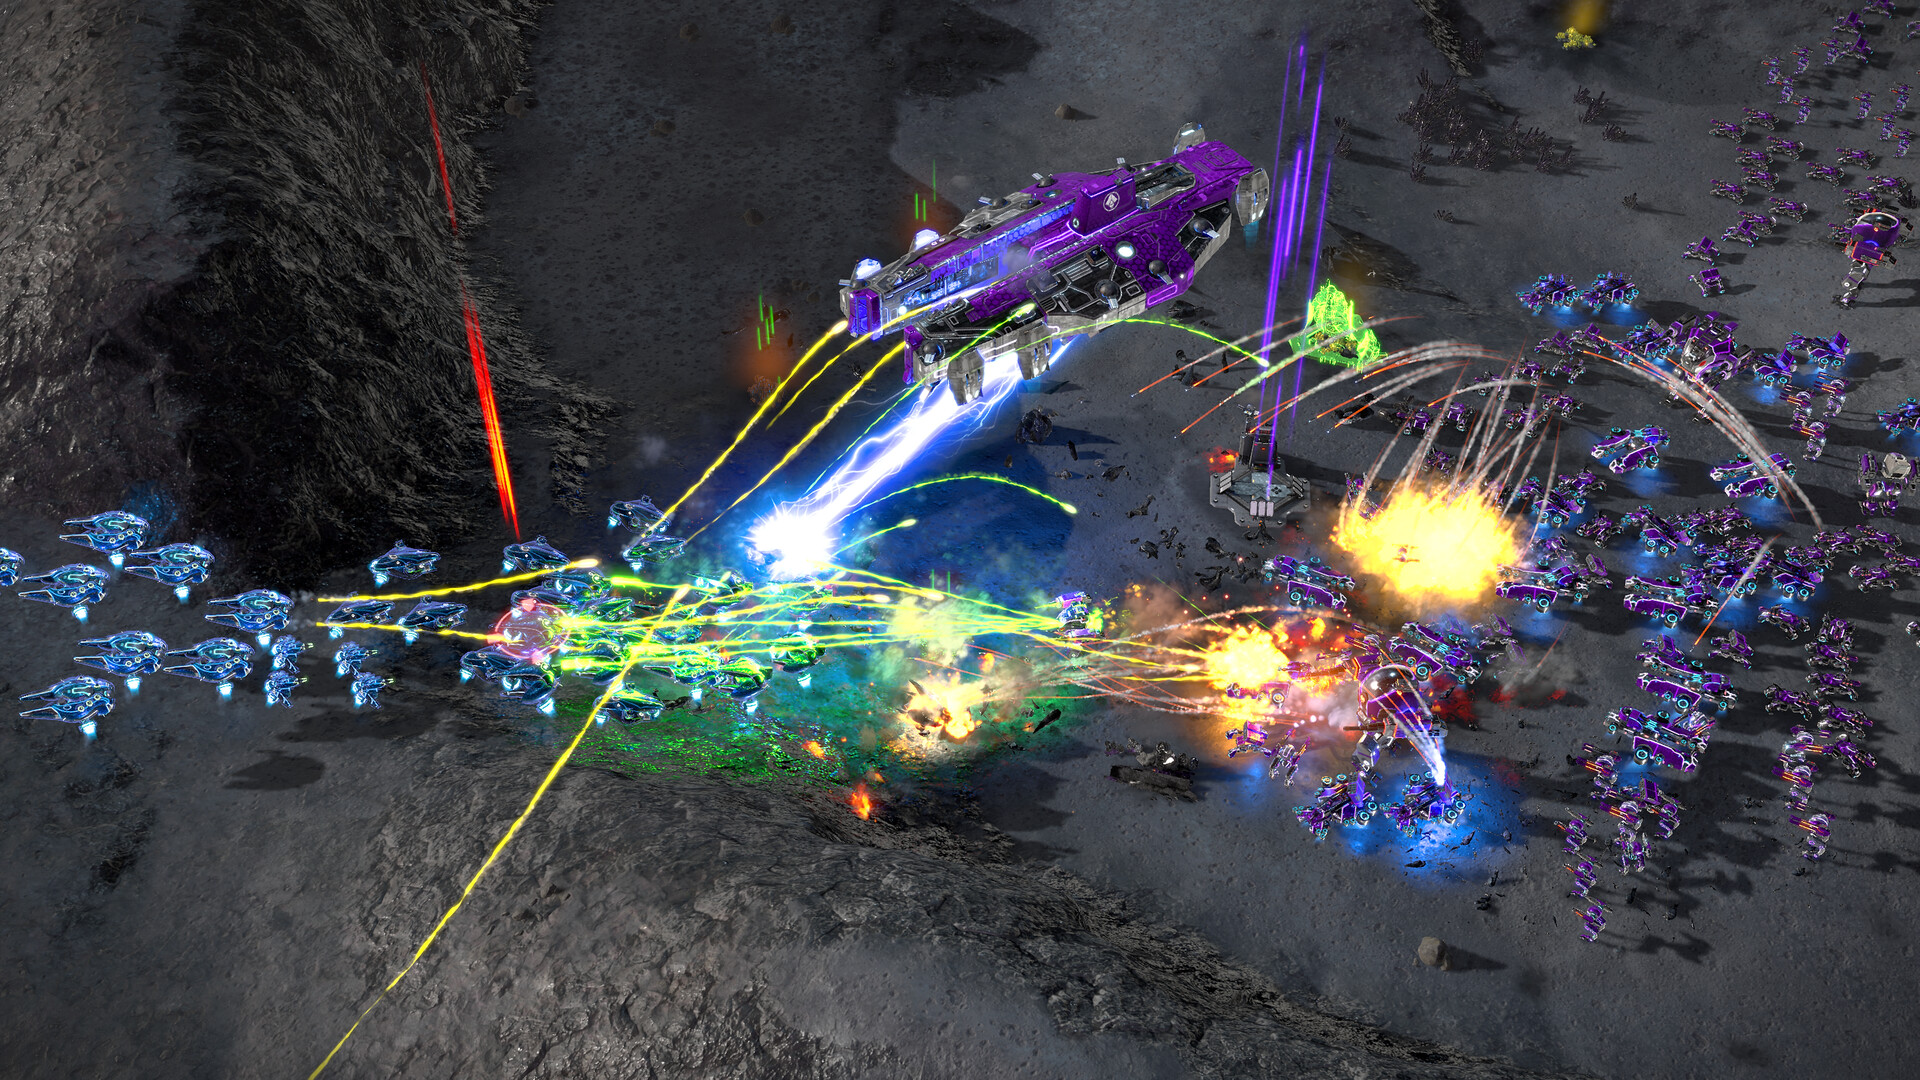
The intended shape of a winning attack is not attrition. It is outmaneuvering your opponent, then bringing the full might of your army in as a hammer blow to smash their headquarters and end the match. A large army that arrives piecemeal, in the wrong place, at the wrong time, loses to a smaller one that arrives together, which is why army cohesion and the production queue matter more here than unit totals.
How Armour Works Without a Penetration Number
Ashes II does not publish a penetration statistic for armour, so there is no number to look up, and the useful answer is that armour is expressed through unit roles and damage profiles instead.
What that means in practice:
- The Post-Human Coalition excel in armour, repair and brute force, and field heavily armoured units with repair capabilities. Armour for them is a trading tool: their units win exchanges and repair themselves afterwards.
- The United Earth Forces are weaker unit for unit and rely on large armies and disciplined infantry instead, so against them armour buys you fewer exchanges, not more.
- The clearest armour statement in the game is the UEF's third tier HQ rail gun, which hits incredibly hard against armoured targets. It is described by the result it produces, not by a damage reduction formula.
So the answer to a massed armoured formation is not a bigger gun. It is massed area-of-effect artillery, a flank, and terrain that stops the formation from using its numbers. The defense turret and HQ upgrade guide covers what the endgame turrets actually do to armoured targets.
Flanking and Kill Zones
The published answer to massed armour is terrain, applied in a fixed order: flank the formation, trap it against terrain features, and shell the kill zone where it is bunched up.
The reason this works is that a massed formation is only strong while it stays together. A formation that is compressed against a cliff, funnelled into a trench or forced through a pass cannot deploy its numbers, and every shell that lands on it does full damage to a target that has nowhere to move.
That is also why the counter to artillery spam is a different tool rather than more artillery. The artillery and fighter jet guide covers that side, and the chokepoint guide covers how to set up and break the funnel in the first place.