Everything you build has to reach the Core, and the road that does it is the one option in the build menu most players never find. This Wall World Strategy foundations and roads guide starts there and then covers the placement rules that decide whether your first line even survives.
The Wall World Strategy foundations and roads guide starts with Build road
- Find Build road. It sits at the bottom of the build tab, underneath the list where you pick a building. It is easy to miss because it is not in the building list itself.
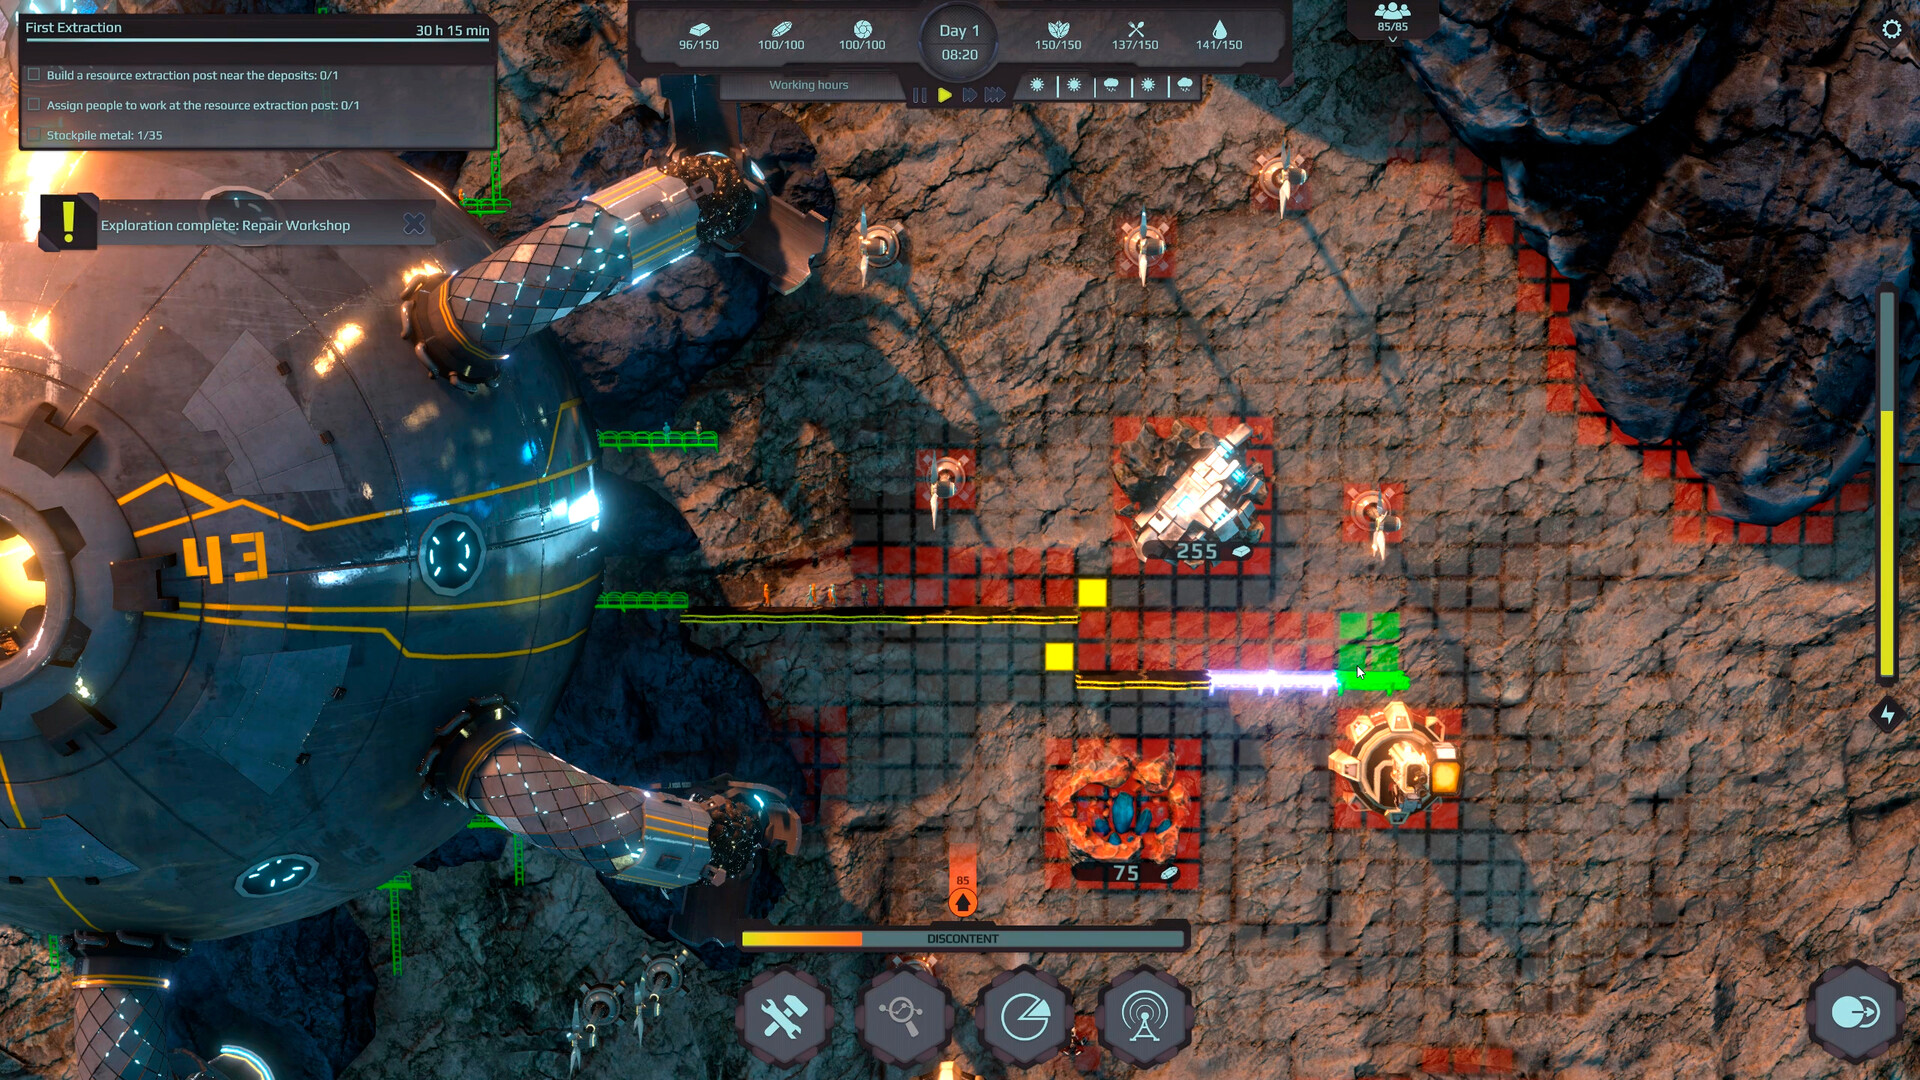
- Drag from your foundation to the Core. The Core has a yellow spider road point on it. Dragging a road from your own foundation to that yellow point is exactly what the tutorial line "build a road to connect a core" is asking for.
- Use the red-X button to demolish. Right next to Build road there is a button showing a road with a red X on it. It selects roads so you can delete them, which is how you clear obsolete ladders and gangways that are sitting where you need to build.
- Let adjacent buildings connect directly. Buildings placed directly next to each other connect to each other without needing a road in between, so you do not have to pave every gap.
- Expect a material cost. A road costs roughly one material per tile.
The build menu never explains the difference between roads and foundations, and that single gap accounts for most of the early confusion.
What a road-connected building needs
Two placement rules will undo your layout if you learn them late.
- You cannot build on top of a road. A building cannot be placed literally where a road already runs, so the road has to be deleted first. That is why the demolish button matters from day one.
- Demolishing a building takes the road with it. Removing a building or a foundation does not leave the road behind. Every station further along that route loses its connection, unless you have a second route reaching it by another way.
There is also a preview that lies to you. The foundation footprint is highlighted as a 2x2 tile square even when the building only needs part of it, so the highlighted area looks like the wrong size. Check what the building actually needs rather than what the square shows. Buildings with their own foundation rules are covered in the rain and water collector guide.
Gathering posts are the exception
Resource extractors do not need roads at all. A gathering post is one of the structures you can drop next to a deposit without paving anything back to the Core, which makes it the first thing you can put up in the opening hours without any road work at all. The mining and resource gathering guide covers where the deposits are on the starting map and how to staff a post.
One thing to know: extraction posts should be movable, but they were not in the demo.
Roads stop mattering once the rest unlocks
At the start, everything needs a road and a foundation before you unlock energy, defense and higher-tier resource collection. Once those unlock, roads become something you mostly ignore. The 2026 demo update improved the placement of buildings, roads and foundations and simplified road tile placement, and the same patch optimised the road placement algorithm, so the line you draw early is much less fussy than it used to be.
That is when the layout question takes over, and it is a different one from the road question. The base layout and production chains guide covers where to put everything once the road network is done.