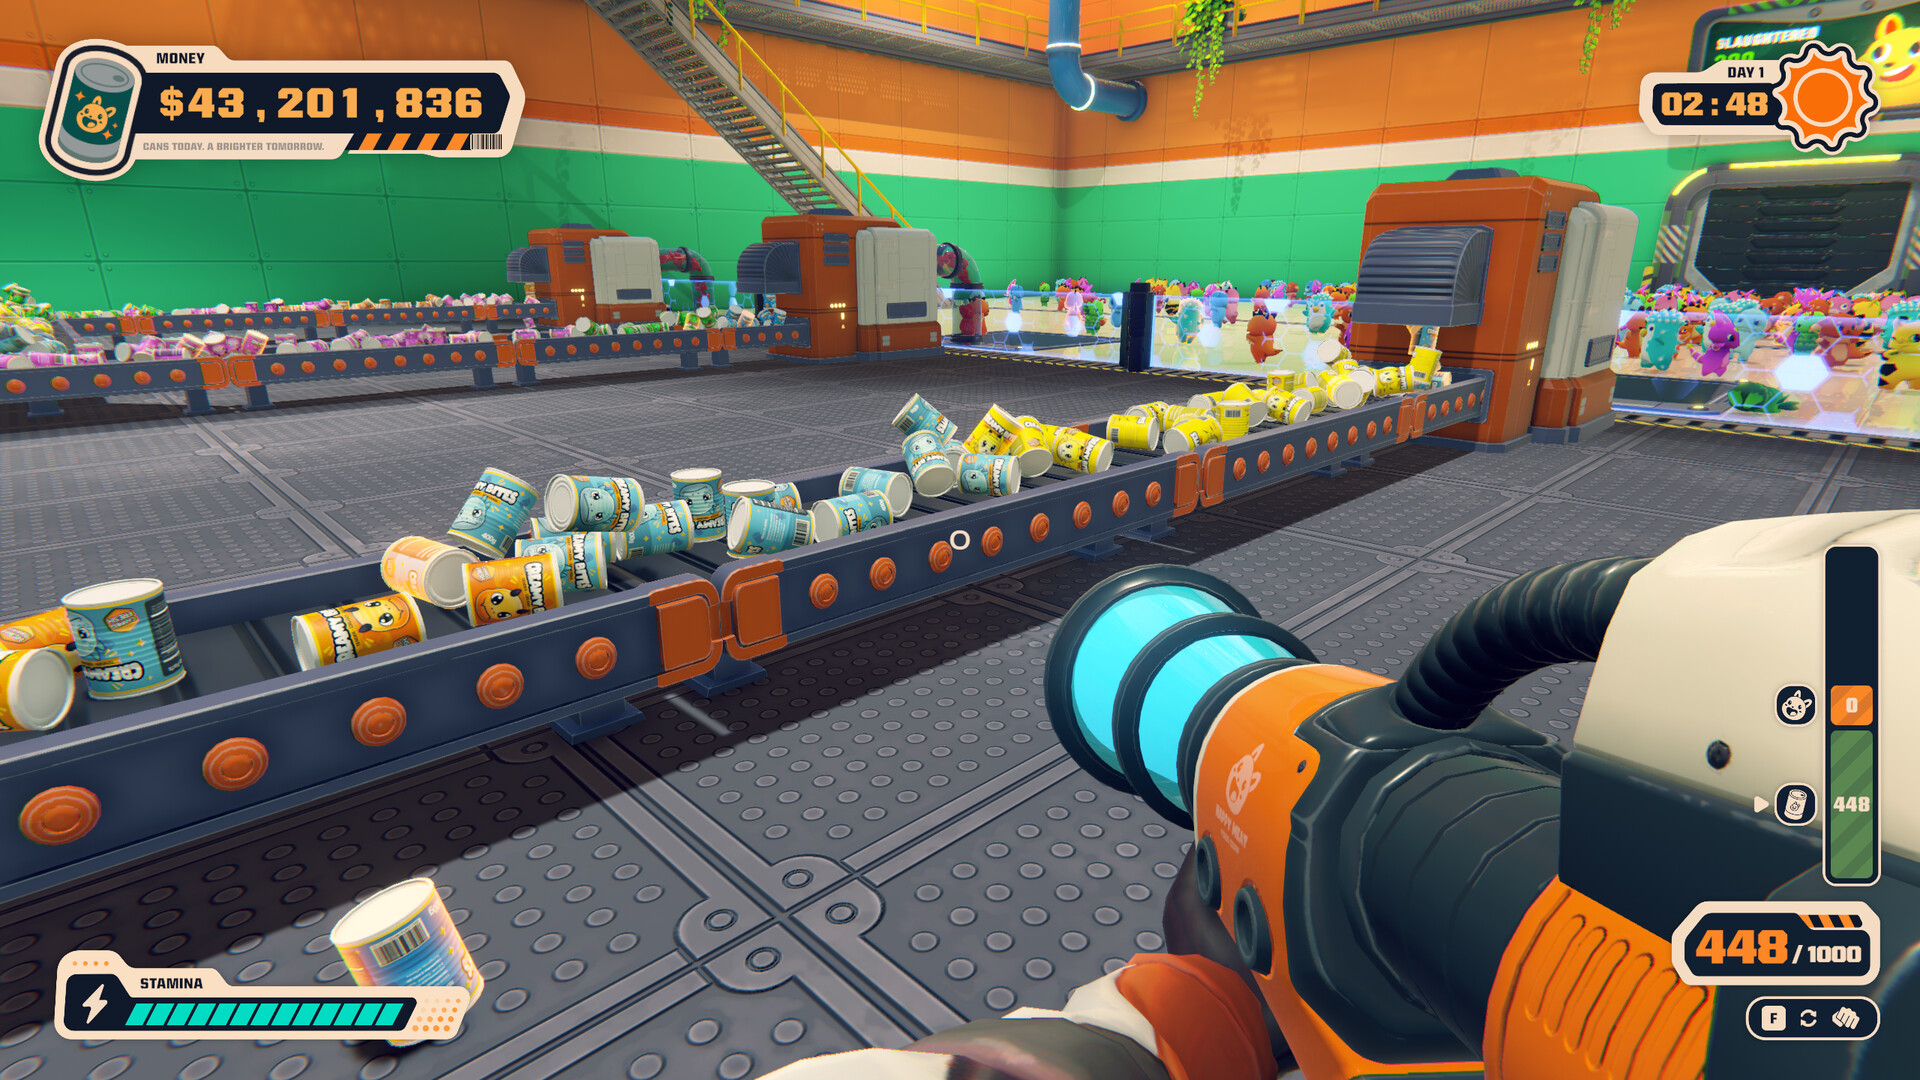
The best Can Em All conveyor belt layout is a single straight run from the crusher straight to the hole. No junction, no second line, no rerouting. Straight is what lets you empty the vacuum and walk away, and walking away is the whole point — once the line runs on its own, the shift timer stops being the thing limiting you.
Can Em All conveyor belt layout: one straight line
- Place the belt so it starts at the crusher and the canning machine.
- Run it straight to the transport tube — the hole the cans go down.
- Nothing else on the belt's path. No bodies, no piles of cans, no detour.
- Load the upgrade chain onto that one line.
Bodies and cans left on the floor, still sitting in the vacuum, or piled up in front of the tube all count as objects in the factory, and while that count is high the game stops sending new trucks. The straight layout exists to keep that count near zero, because every can you clear off the floor brings the next truck closer.
There is no belt on/off switch
The belts and the machines cannot be switched off from inside the game. There is no toggle, and asking for one is a common request from players who want to stop the line while they work on something else.
The workaround people use instead is to mass-dump the cans into the chute by hand and skip the belt for that batch. Some players prefer that anyway, because dumping by hand front-loads the money before the next truck arrives.
The same rule explains a common confusion: if the belt is running and you expected it to be idle, the game is not broken — there is simply no off switch.
The belt upgrade chain
The belt is a long chain of nodes rather than a single purchase:
- Unlock the conveyor belt node.
- Buy the conveyor upgrades in sequence, several in a row.
- Finish with the final upgrade that shoots the cans into the tube.
Each step in that chain raises throughput, and the chain is long enough that it competes for money with the machines themselves. If you cannot afford the whole chain at once, buy it in order rather than skipping ahead — the last node only pays out once the ones before it are in place.
Why a cluttered floor stops the trucks
The truck schedule is gated on the state of the factory, and the state it cares about is the object count:
- Bodies and cans on the floor count.
- Whatever is still in your vacuum counts.
- Cans piled up in front of the tube count.
- Creatures that are still alive count, and a share of the previous load has to be killed first.
While that count stays high, no new truck comes. Processing quickly and shipping the cans down the tube is what brings the trucks back faster. The full set of causes, including a bug where the count itself drifts, is in the truck not spawning guide.
When belts are worth the money
Belts pay off as soon as you have a steady stream of creatures, because they remove the trip between the crusher and the tube. Before that, dump by hand.
- Buy the belt once trucks arrive faster than you can clear the floor by hand.
- Spend the rest of the money on the machine tree and the multipliers rather than on extra belt length.
- Keep the chute clear, which is what makes the belt worth running.
What a higher output actually buys you is in the production guide.