The galaxy map gives you short-term goals between battles, and it is deliberately not a linear path toward a final boss. There are around 15 types of stars, each offering different opportunities and bonuses, and it is impossible to visit all of them in a single run. Travel speed comes from the number and level of your engines against the total mass of the ship, so the map is where your weight decision actually pays off.
How the Hull Rupture galaxy map guide is structured
Parts of the map begin hidden behind fog of war. As you explore and uncover more of the galaxy you reveal the types of stars around you, but you still do not know exactly what awaits at each one.
The map is generated by rules and patterns, so the more you play the better you become at recognising them. The developers' stated goal for that learning curve is specific: you stop asking "I wonder what is waiting on that star" and start asking "I know exactly what might be waiting there, and I have decided the potential profit outweighs the risks."
Every star type and what it gives you
| Star type | What it offers | When it appears |
|---|---|---|
| Planets and capital planets | Resources and larger rewards | Common |
| Random-event stars | Modifiers, and the main source of event modifiers | The most common type |
| Arachnids | A special artifact, with new turrets picked up along the way | Hunted deliberately |
| The Great Old One | A cursed modifier for the Despot's Chamber | Visited specifically for it |
| Black Market | Turrets — you know you will be able to buy them | Available on the map |
| Resource Market | Trade any resources for other resources | Available on the map |
| Shipyards | Hull upgrades | Available on the map |
| Resource caches | Raw resources | Available on the map |
| Guarded locations | A reward behind extra enemy waves that do not count toward your 20 | Higher difficulty levels only |
| Wormholes | Shortcuts linking distant parts of the galaxy | Planned for the full release |
The travel events guide covers what you actually pick up at the event stars, and the difficulty guide covers what guarded locations do to a run.
Driving the ship across the map
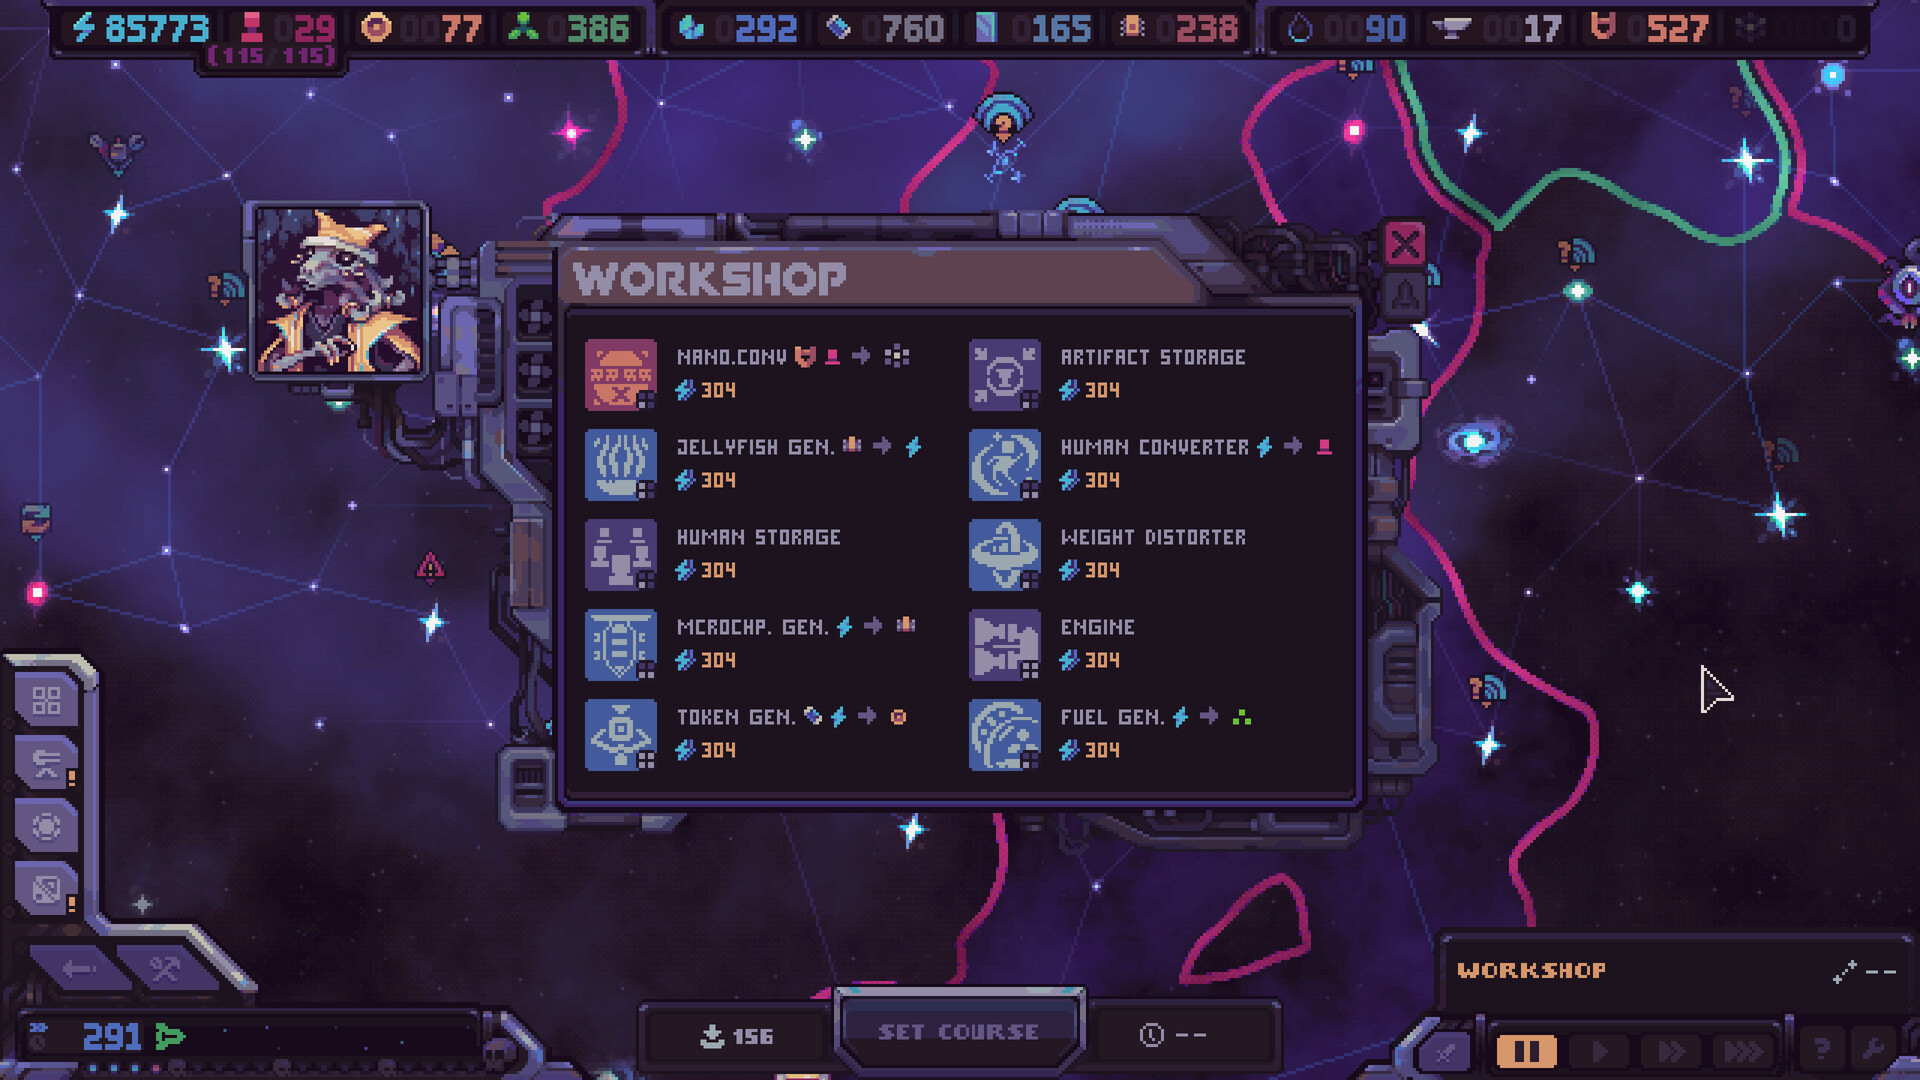
The map screen has a SET COURSE button, a destination picker that reads "PICK A DESTINATION REGRET IT LATER", and a travel timer that runs while you move. That timer is where your engine and mass numbers turn into something you can feel.
Because travel speed depends on your engines against the total mass of the ship, a heavy ship arrives later everywhere — and arrives with less time to act when it gets there. One of the three starting ships is built for keeping mass low and visiting as many destinations as possible, and even it cannot reach every star in a single run. The ship weight and fuel guide covers the two route strategies, and the ship models guide covers the low-mass hull in detail.
Route choice is the strategic layer
Exploration is an additional strategic layer on top of the core loop of managing, expanding and defending the ship, and it is one of the only ways to compensate for unlucky shop rerolls. The developers say a deep understanding of the game should let skill compensate for bad luck.
That makes the map the place where a bad draw can still be played around. The post-battle shop guide covers the rerolls you might be compensating for.