The Tenebris Somnia walkthrough is one continuous descent with no chapter select: Floor 3 (Iván's apartment) → Floor 2 → Floor 1 → Floor 0 (the film school) → Floor -1 → Desiderium, where the Aurifer is forged → the Séptimo Arte theater and gallery. The route is driven by the Devora film canisters. Julia rarely opens the next door directly; she finds a canister, plays it at a projector, and the film hands over the next item and the next route. Three puzzles reroll every playthrough — the bar bottle pitch, the elevator colour order and the fly-tile route — so solve them by method rather than by memory.
Before you leave the lobby
- Leave the ground-floor lobby and take the elevator, letting it stop on Floor 3.
- Turn right into Apartment B and open it with the Apartment Key from your inventory.
- Pick up the Old Book on the living-room floor. It records the projector code you need much later, and every page has to be read for one of the achievements.
- Pull back the bathtub curtain in the bathroom and take the Wrench. Equip it straight away — a creature enters the apartment after the first cutscene, and the wrench takes three or four hits to kill it.
- Break the lowest board on the bedroom window with the wrench. Sunlight has to reach the floor before you can make the compound that opens the Study.
Julia has only 4 health points, so that first creature is a real threat rather than a formality. The full survival rules — when to drink a Lavendoleum bottle, how to spend ammunition and how to work out a puzzle — are in the beginner guide.
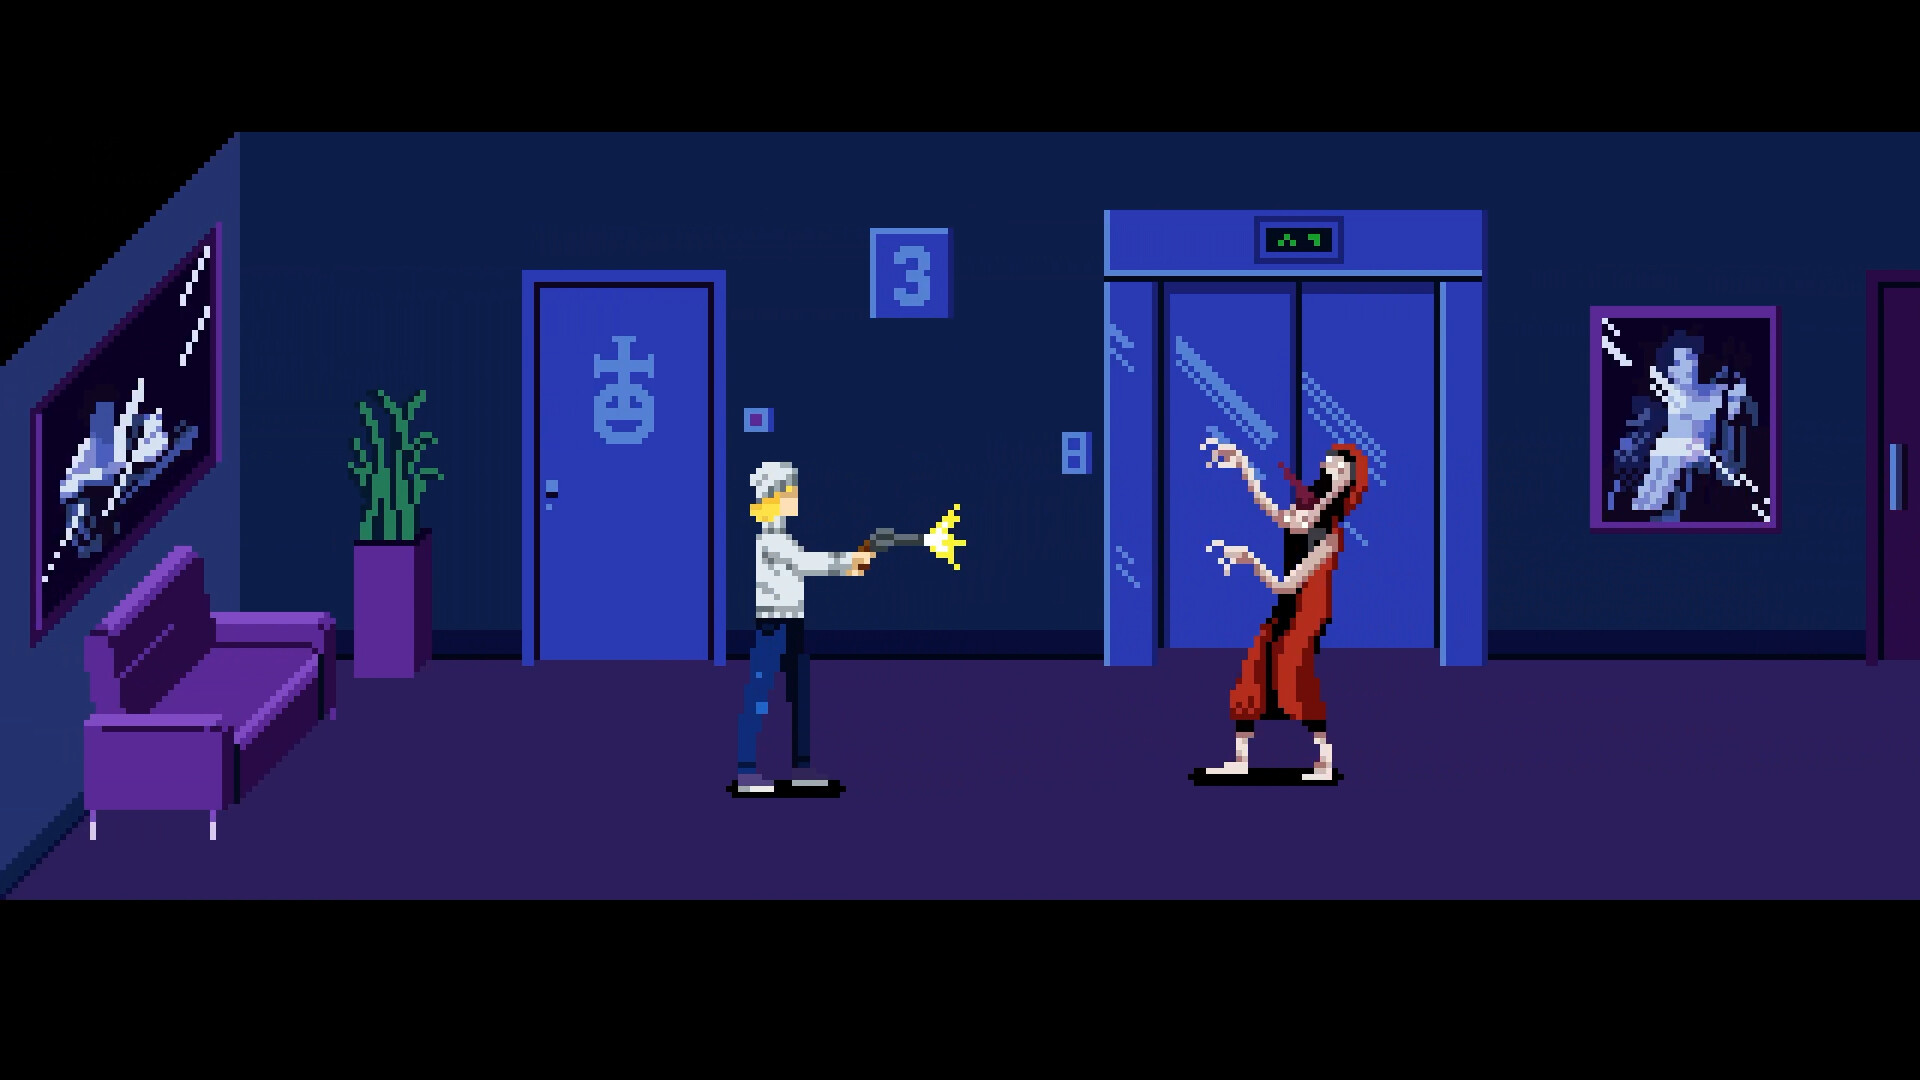
Floor 3: the apartment and the sealed Study
The Study door on Floor 3 is sealed in red wax, and the only way through is a compound called Auritsatio.
- Collect the four pieces: the Old Book in the living room, the Empty Glass on the bedroom bedside cabinet, the Developing Chemical in the kitchen refrigerator and the Wrench in the bathtub.
- Break the lowest board on the bedroom window with the wrench so daylight reaches the room.
- Use the glass on the cracked bathroom mirror to get Glass with Blood.
- Combine Glass with Blood and the Developing Chemical.
- Set the mixture at the sunlit window. It heats into Auritsatio.
- Use Auritsatio on the red wax seal of the Study door.
Inside the Study you get a save flame on the left table, the powerless TV Remote, the discharged Cellphone you will need much later, the Glass Vase on the table, and the wall writing that gives you the Green Candle.
Floor 2: the studio, the poster and the bar
The Floor 2 A.S. studio door needs the A.S. Key, and the only way to get it is to cut it out of the lock.
- Slide the X-Ray under the A.S. door and use the Scissor Blade to push the key out of the far side of the lock.
- Break the glass partition with the wrench. The Director's Office holds the second Scissor Blade and a save flame.
- Join the two blades into Scissors.
- Cut a piece from each of the six cardboard figures along the chair-lined corridor.
- Take all six pieces to the empty poster frame in the Director's Office, rotate and fit them to rebuild the Devora poster.
- Burn the poster with the Lighter. The Bathroom Key is behind it, and the bathroom holds the Mop Handle.
- Slot the Mop Handle into the rectangle beside the candle-arena window and operate it. That closes the blinds and starts the Obscuratus fight.
Two other things are done on Floor 2. The bar holds the bottle puzzle, which yields the USB Cable, and the USB Adapter sits at the top of the dining-set staircase. Combine them into a USB Charger and use it on the discharged Cellphone in the Floor 3 Study to read a four-digit code. The Old Book records the same code, and that code opens the Floor 1 projector room.
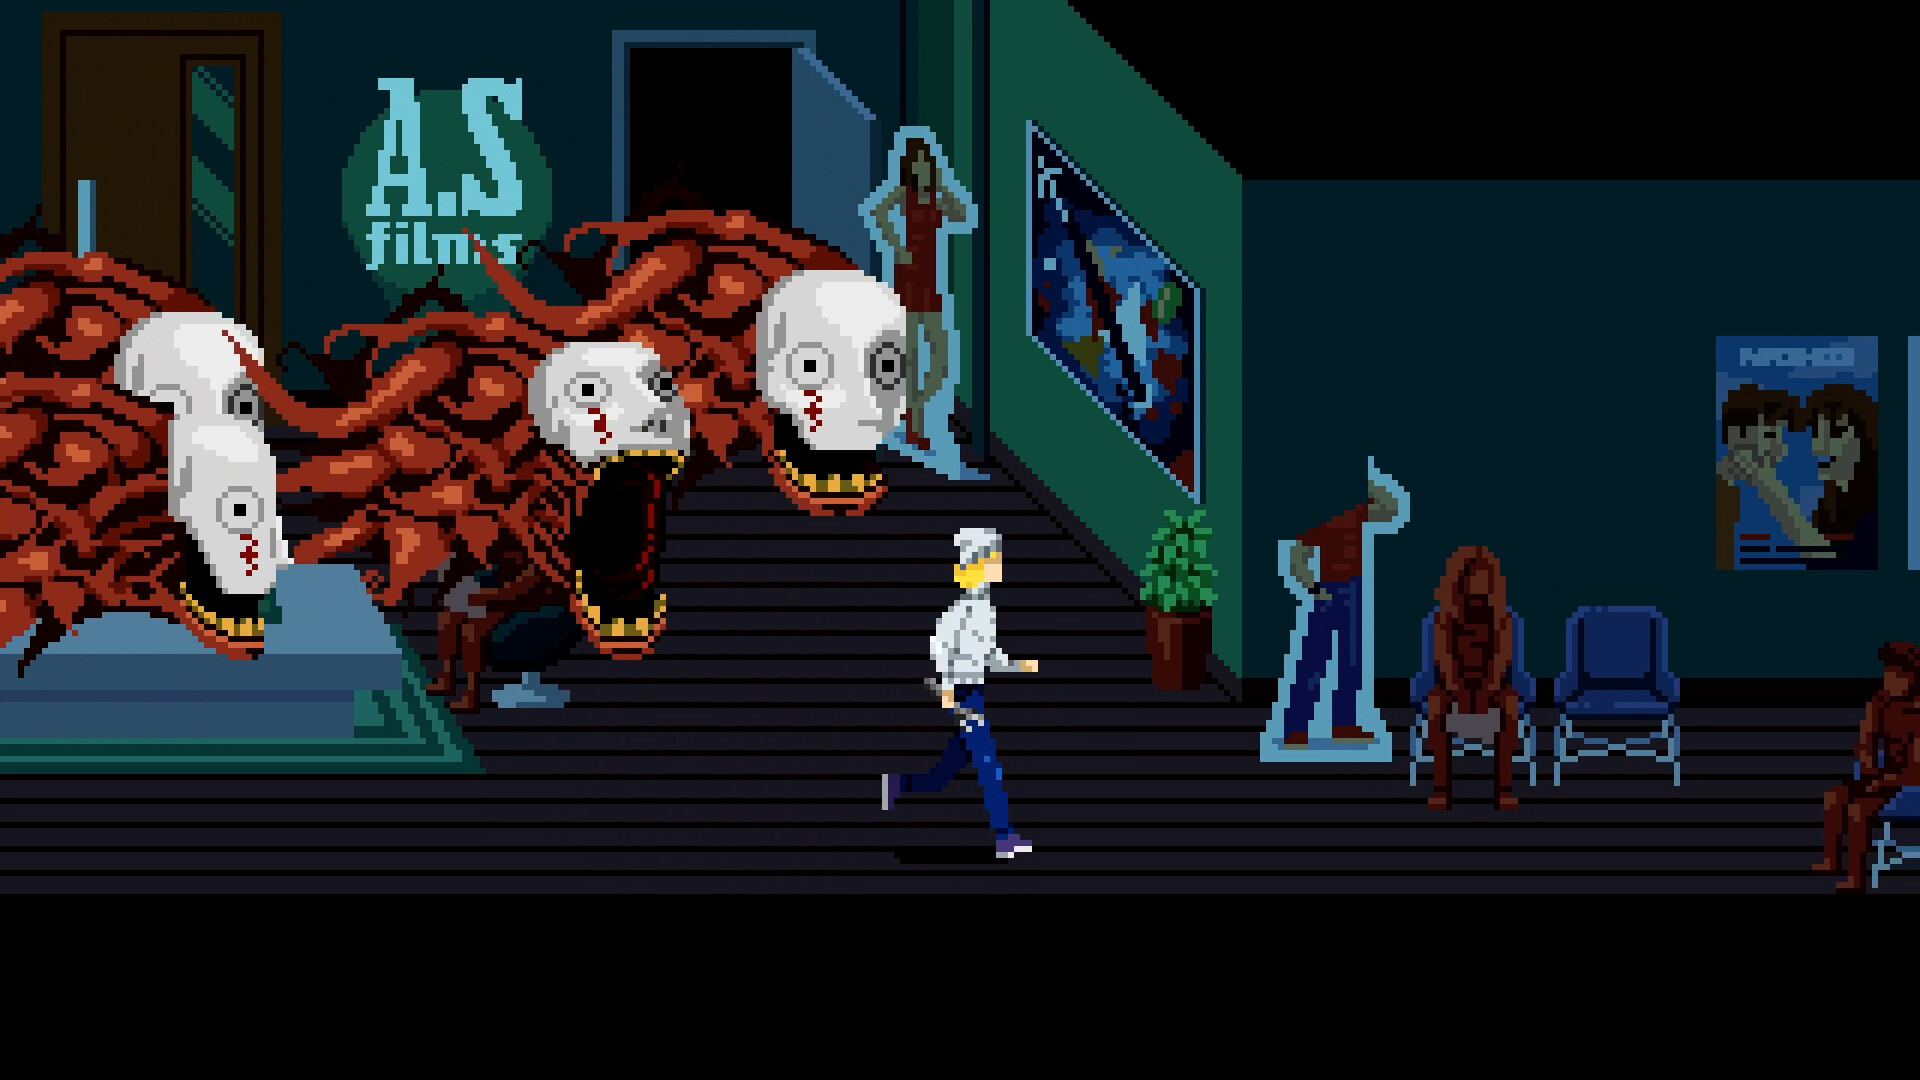
Floor 1: the projector, the theater and the plates
- Play the first Film Canister at the Floor 1 projector. Take the Plate with X from the first theater box.
- Put Black Tape over the upper-left dining plate and set the Plate with X directly below it. The middle doors open and you reach the Green Square Stone.
- Use the Square Stone on the Floor 3 bedroom door to get the White Candle.
- Use the White Candle in the elevator to reach Floor 0.
- Take the Screwdriver on the stairs up to the projector, then pry the Iron Pipe off the bar bathroom wall.
- Giant fly statues block the theater entrance. Take the side door on the left and walk the tile path toward the small Lead Fly. The statue gains a sulfur coating as you cross the right tiles and a wrong step wipes the coating out, so return to the start and retrace the route.
- Break the fully coated fly, then reproduce exactly the same tile path in the hall for the second fly.
- Take the Lead Fly from Julia's seated statue and use it on the matching sealed door. Defend Julia's statue through three waves of attackers to reach the Tin Key, the upside-down exit, the Green Candle and the last theater chest.
The second Film Canister opens the Cow Skull, and the skull opens the Fumus arena. Both of those sit further down the route.
Floor 0: the film school
Three puzzles sit on this floor, and they are the longest stretch of the game.
- Equipment Storage. Switch on the lower-left switch so the right-hand grille rises fully, switch it off to stop the current in the white cable, cross while the blue cable is between electrical pulses, and reach the right-hand switch to open the upper cabinet for the Piece of Cable. Use that piece at the upper-left switch, activate the repaired switch, then return to the lower-left switch — the mannequin collapses and exposes the RCA Cable.
- Cinematography class. Connect the RCA Cable to the camera and cycle the camera feeds. Stand in the white outline until it fills in, break the glass where the television shows a pane blocking the scene, take the Copper Seed from the blue bird when it lands on the branch, plant the seed in the green vase upstairs and take the Copper Poppy Flowers. Give the flowers to the kneeling figure, keep switching feeds until a Copper Key is left on the chair, and use it at the matching green door.
- Dark TV room. Turn on all the screens and defeat the enemy that appears. Julia writes the colour sequence she saw into the Old Book, and the Black Candle sits on the desk.
Behind the boards at the top of the dining-set staircase is the final film set. Use the Cold Chisel plus a melee hit to remove the boards, and use the White Bulb on the blood-covered table to make a Red Light Bulb. In the Photo Developing room, put the Red Light Bulb in the lower-left lamp, use Chemicals at the trays above it, use the Photo Roll on the north-wall table for a Negative, use the Negative at the enlarger and then the Photo Paper there for a Printed Photo, and develop it at the trays. The finished Photo goes into the empty frame on the Floor 3 bedside table and pays out the Hexagonal Stone.
Each of these puzzles has its own full solution, and the order matters because several of them hand you the key for the next room. The puzzle hub has the full solutions.
Floor -1: the canister, the arenas and the silver
The second Film Canister sits beside Iván as a child. Take it back to the Floor 1 projector and play it — that opens the second theater box with the Cow Skull, and hanging the skull on the hooked door in the side corridor of the dining set opens the Fumus arena. Beating Fumus drops the Red Pentacle Stone.
The Sanguis chase is on this floor too. Bait his charge into the upright mannequins so he crushes them, then lure him onto the large retracting blade at the end of the corridor. Red mannequins survive the charge, so steer around them and watch the spike sections.
Sanguis also gives you the Silver Key. Using the Silver Key on the locked cabinet beside the sink in the Floor 2 apartment bathroom gives you the Silver Bottle, and the bottle is filled from save flames — three of them, each one permanently extinguished when you use it.
Desiderium: the end of the Tenebris Somnia walkthrough
Put the Black Bulb in the lamp in the red Photo Developing room. The colours invert and the Blue RCA Cable becomes yellow. Attach the Yellow RCA Cable to the camera, use the rope to climb into Equipment Storage, raise the grille with the left switch, switch it off, cross to the right switch and recover Julia's belongings. Use the Apartment Key in the pool of Purified Water to make more of the Old Book's pages readable, take the Red Candle from Julia's statue, and use it at the red symbol blocking the stairs.
Two puzzles are found late but belong to earlier floors. On Floor 2, read the chemistry page in the living room, turn on the Bathroom faucet on your side of the room until the cracked wall leaks, break the leaking wall with a melee weapon and reach the oven and fuse box. Combine the Glass Vase with Julia's blood and the Film Canisters, use the mixture at the Floor 2 Kitchen oven lit with the Lighter, and recover the Circular Plate. In the Floor 3 Study, read the poem and place the Photographs at the four Roman-numeral panels by the opening line of each verse.
The boss order
You meet them in this order:
- Obscuratus — the candle-headed first boss, in the candle arena on Floor 2, started by the Mop Handle.
- Sanguis — the mannequin chase on Floor -1.
- Fumus — the tall faceless woman in the arena the Cow Skull opens.
- Carnitos — the wave fight behind the Cold Chisel door, spitting out fragile minions.
- Vitria — the tentacle boss on the film school's second floor, opened by the Hexagonal Stone.
- Sulfur statue waves — three defensive waves where enemies converge on Julia's statue and its destruction kills you.
- Vorax — an elite enemy, not a boss: shoot it until it glows red, then step through a doorway before it detonates.
- Relicta ghosts — after the Aurifer is forged they cower or attack, and that choice forks the ending.
- Lacuna or Hermes — one of the two finale bosses in Séptimo Arte, depending on the branch you took.
The full roster, with the rule that wins each fight, is in the boss guide.
When to save
Save flames are the only save points in the game, and each one is used up when you light it. The one that matters most is the manual save you make the moment you have forged the Aurifer — ride that save to the credits for one ending, reload it, and take the other branch without replaying the building. Save before every boss as well, and open every star locker before the Sanguis fight, because unopened lockers stay unopened after it. Every flame in the building is listed on the save points page.