Oboro no Ichi market layout tips come down to one order: roads and paths first, then the production buildings, then the market stalls, then decorations, and only then open the market — because a stall cannot sell what nothing produces.
Oboro no Ichi market layout tips: the build order that works
Work through the market in this order, and every later decision becomes easier:
- Lay the roads and paths. The road network decides what can be placed where, because some buildings can only go down if they touch a road. Paths also route movement through the market, so their shape is not only cosmetic.
- Raise the production buildings. Each one makes a single resource, and each resource needs its own building. Get these in before the stalls, so the stalls have something to sell from the first hour.
- Put up the market stalls. Stalls sell the resources that the production buildings produce. A stall placed before its production building exists stays empty.
- Add decorations. Lanterns, trees and awnings come last, once the functional part of the market exists.
- Open the market. The control at the top centre of the screen reads Open Market while the market is closed and Close Market once spirits are inside and trading.
If you want to test a layout before you commit money to it, the free demo build gives you unlimited currency and a free build mode, so you can try several structure combinations there first.
Production before retail
A stall cannot sell what nothing produces. The market works as a chain: some structures produce raw resources, others transform those goods, and others supply the stalls where spirits shop. That is why the build order puts production buildings ahead of stalls.
The three resources in use are Fresh, Protein and Grain. A stall that shows Grain in stock while Fresh and Protein stay at 0 is telling you that the matching production buildings have not been built yet, which is a far more common cause of an empty stall than a pricing mistake. The production chain explains what happens between the building and the stall.
Leaving road edges free
Roads and paths connect the various structures, and some buildings can only be placed if they touch a road. That single rule has two consequences for your layout: leave a road edge free when you plan a row of buildings instead of butting them up against each other, and face each building so its working side lines up with the path edge before you drop it — turning a building is what gets that facing right.
Buildings and trees are allowed in water, which opens up floating platform layouts if you want to build out over the edge of the site. A building collider bug could make it impossible to lay a path behind a house, leaving an unusable sliver of ground no matter how carefully the house was positioned; that was a bug rather than a design rule, and it has been fixed.
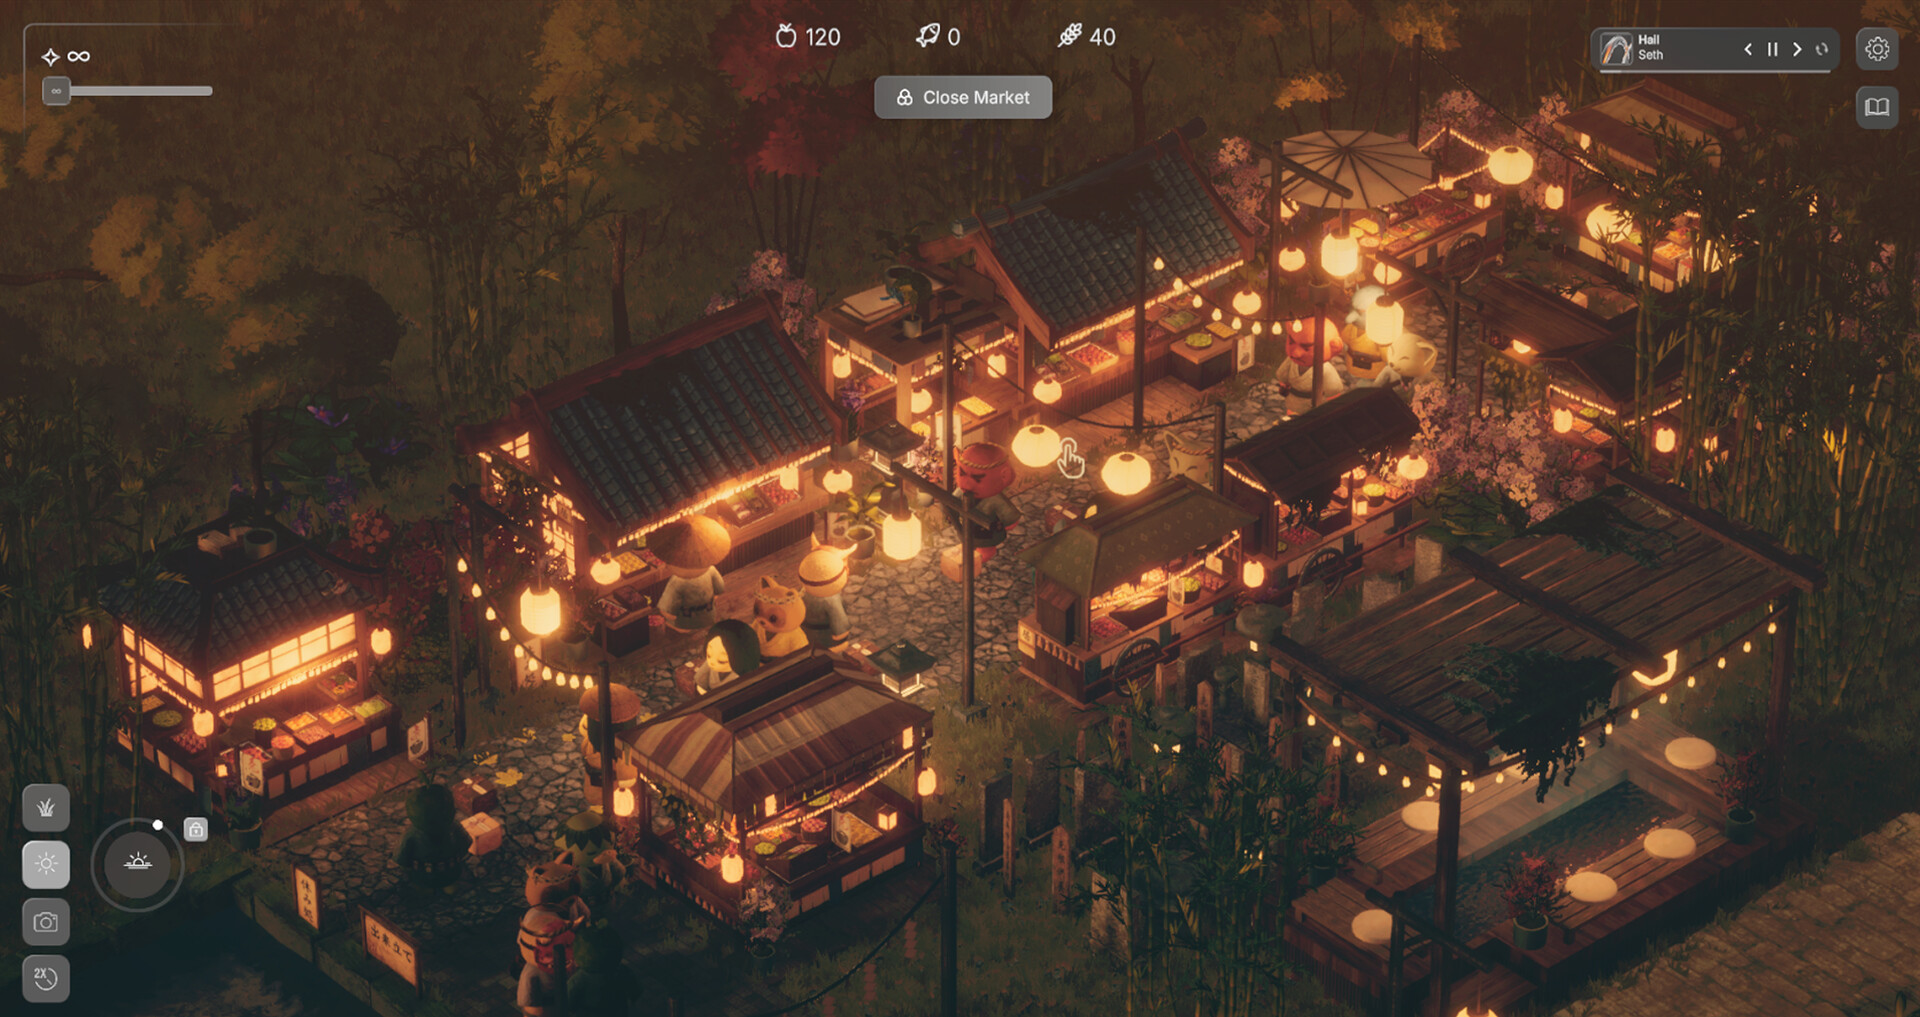
Plan room for what comes next
Expansion in this market is incremental rather than sudden. You add new facilities, link the production chains together and open new areas so the market evolves in gentle stages, and the site itself is a bounded plot ringed by forest and water. That means every gap you fill with a path or a stall is a gap you cannot use later, so decide early where the next row of buildings will fit.
The same reason explains the absence of a bulldoze in the demo: there is no terrain reset, so a misplaced structure has to be removed one piece at a time with the delete button. Leaving space is cheaper than clearing it, and expanding your market covers the levers that growth actually offers.
Pricing a stall that is working
A selected stall shows a Resource list and a Selling panel. The current price reads x1, and an Upgrade raises the next price to x1.25, with the button labelled Upgrade level 2 costing 250. A stall that is already selling well is worth upgrading rather than replacing, and the numbers are the same in the demo and the full game. The stall products guide reads the whole panel line by line.